Looking to add a little life to your yard? These projects are all simple and can give your landscape a more sustainable and visually charming appeal. Give one (or more) a try and enjoy the results for years to come!
Rain Barrels
Every garden needs to have a source of water, and what better way to help your garden thrive than by using the water that Mother Nature already supplies.
The simplest rain barrel can be built and installed for around $50. Pick up a sturdy, plastic trash can, enough fiberglass window screening to cover the top of the can, and an outdoor faucet. You will also need something sturdy for your rain barrel to sit on, but a couple cinder blocks will work just fine.
To attach the faucet and keep it from leaking, you will need two metal and two rubber washers. Use a conduit lock nut to screw the faucet into place.
Cut a hole 2 inches up from the bottom of the can, big enough to fit the back of the faucet through. The order of the washers is important: metal washer, then rubber washer. Thread the faucet through your opening and add one rubber washer and the last metal washer. Tighten down the lock nut and your faucet is ready.
Fit the screen on top of the can and secure it either with staples or a giant rubber band. This will keep mosquitoes and debris from getting into your collected rainwater.
The lid needs to be cut to accommodate your downspout. Place the lid back on the can, position under the downspout, and you are done.

Raised Garden Bed
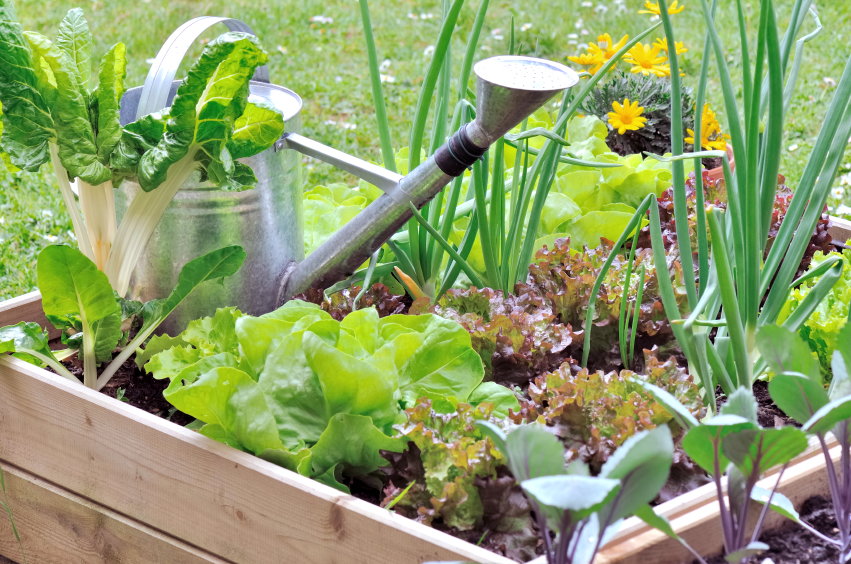
Now that you have your water source, you can build your raised garden bed. A raised garden bed is attractive and adds function to your landscape.
The easiest plan is simply using landscape timbers. They can be made into a square or any shape you want that has flat sides.
Plan where you want them by placing the first level of timbers. If you want them four or more timbers high, you have to drill holes 4 inches from the ends of each timber, making sure the holes all line up. Now pound a piece of rebar through the holes and into the ground. Voila, the beds are done.
Cement Stepping Stones
How about making your own cement paver stepping stones that lead to your new garden beds? All it takes is a couple bags of ready cement, some water, a container to mix the cement in, and some forms.
Forms can be purchased just about anywhere these days. The least expensive are a simple plastic that you simply fill with mixed cement and let dry. Once dry, flip out the stepping stone and make your path.
Solar Path Lighting
To add a little pizazz to your stepping stones, complement them with solar path lights. They come in sets or single applications. Most also come with a stake. Lighting a path has never been so easy. Nowadays you can even get them with LED lights that are brighter, last longer, and are more environmentally friendly.

Container Herb Gardens
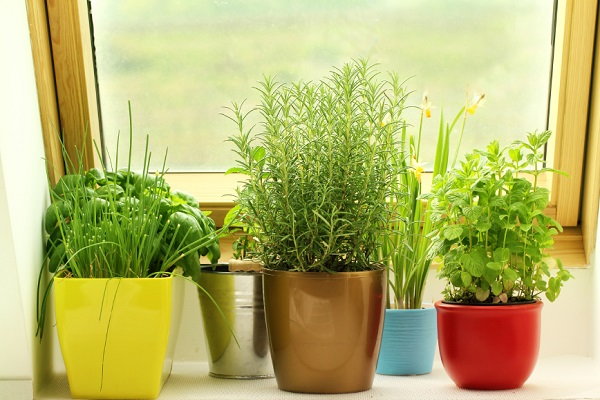
Herbs taste wonderful when they've been freshly cut, and actually grow better when cut often. You can mix and match different herbs in one container too, so it makes them attractive to the eye and your taste buds. I tend to plant perennial herbs separate from annuals. Basil and thyme make a good pairing.
Herbs do not like soil that is packed too tight, so add some small bark pieces into the soil before planting. There are some containers that are made especially for herbs. Plastic is better, as the soil won’t dry out as fast as clay pots tend to.
Freshly Planted Trees
So now that you have your herb garden planted, how about adding a tree (or two) to the yard?
Keep in mind whether the sapling will be in the sun or shaded by an older tree, and check for any electrical wires that may eventually get in the way when the tree reaches its full potential. Also, check with your local Diggers Hotline to check where it is safe to dig. Check the soil for acidity/alkalinity and make the proper adjustments with additives.
The hole must be two to three times the diameter of the longest branches of the tree. It should only be as deep as the root ball. Also, when digging, try to form the hole into a cone-like shape to prevent the tree from leaning when planed.
Take the tree out of its container or burlap only when you are sure you are ready to plant. You do not want the roots to dry out or get damaged waiting to be planted. Place the root ball over the cone and measure to make sure the hole is not too deep. Where the trunk turns into root should be level with the top of the hole.
Backfill the hole about half way and tamp down with your hand gently. Add some water to get the air pockets out, and then finish filling the hole. Water thoroughly every day for the first couple of weeks, and then about once a week. A slow trickle of water is best as to allow water ample time to travel to the roots.
Seed Bombs
Now your yard is perfect, but the land next to yours is vacant and needs some attention, what can you do? Seed bombs are the perfect answer.
You will need some clay from your area. If that isn’t available, you can purchase art clay from a hobby store. You will also need some seeds (preferably seeds that are indigenous to your area) and some compost. Mix 5 parts clay with 1 part compost and 1 part seeds.
Carefully add drops of water until it is just enough so that when kneaded the mixture can be formed into balls about the size of a golf ball. Let them dry overnight. Toss them into the vacant lot and soon it will be full of flowers.
The idea behind the ball is to protect the seeds from birds, give them enough time to germinate, and have the nutrients they need to grow right in their own little world of the seed bomb.

No comments:
Post a Comment